Raspberry Pi PDA
Apr 5, 2024 · 2 min read
Note
Originally posted on my old blog in April 2024. This is a build log plus a separate "Tutorial Part 1" that never got a part 2, merged into one post here.
Hey!
As I have mentioned in the last blog, I was preparing to make a small Raspberry Pi PDA (or Handheld PC) using my spare RPI 4B, and after about 20 days or so, I am 90% done building it, so the objective was to build a compact device to code on and to take everywhere, so I listed some basic functions:
- Charge-free for at least 2 hours under full load (2 Amps)
- Fits in my hands
- Adequately cooled
- No external Keyboard or mouse unless necessary
- External USB 3.0 Ports
- External FULL-SIZED HDMI port
- System set up for tinkering and learning (I Promise :3)
- Plays Sound
Components list
With all those function requirements, I went to work and made a components list.
- Raspberry Pi 4B (x1)
- 32 GB SD Card (x1)
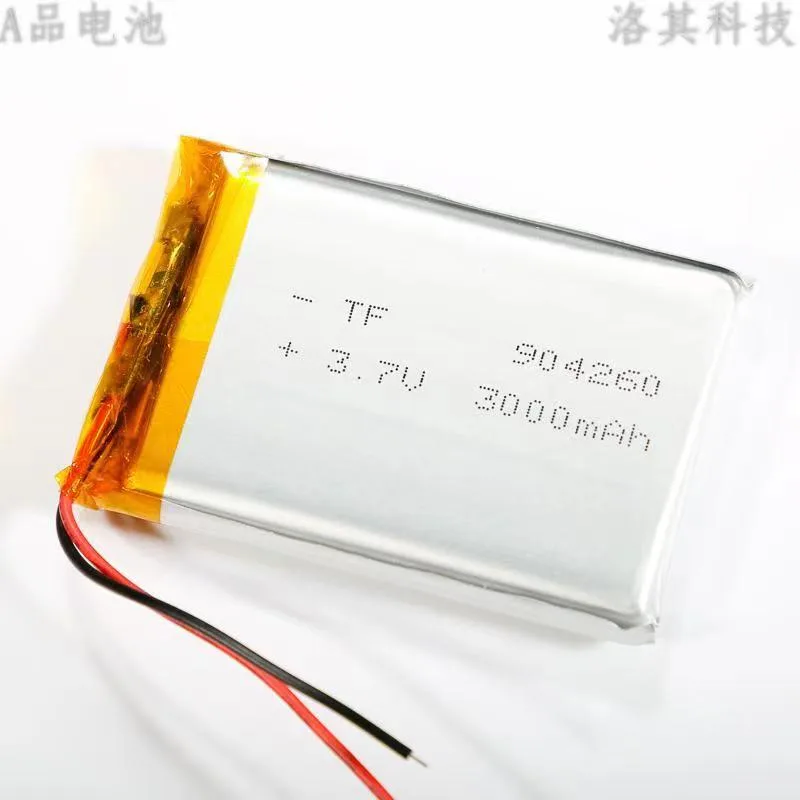
- 3.7v 3000mah Lithium Polymer Battery (Totals 6000mah) (x2)
- Charge/Boost Converter 2 in 1 Module (x1)
- Type-C Female Port (x2)
- Micro HDMI Male to HDMI Female Connector (x1)
- 18 AWG Wires (x4)
- Rectangular On-Off Switch (x1)
- 3.5 AUX Male to Positive/Negative Wire (x1)
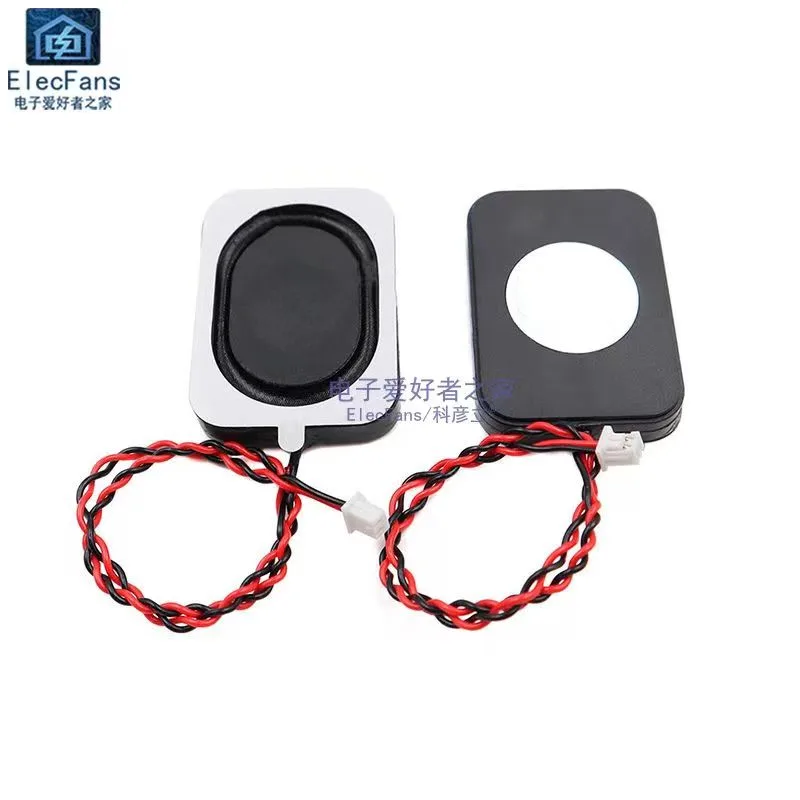
- 8Ω 2W Wired Water-proof Speakers (x1)
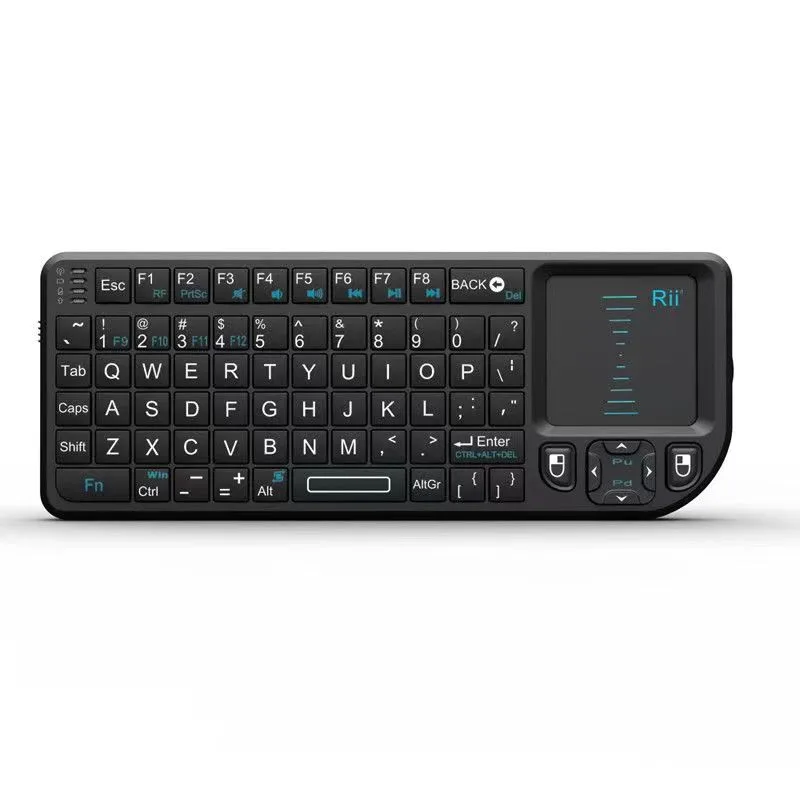
- Rii Mini X1 Keyboard (x1)
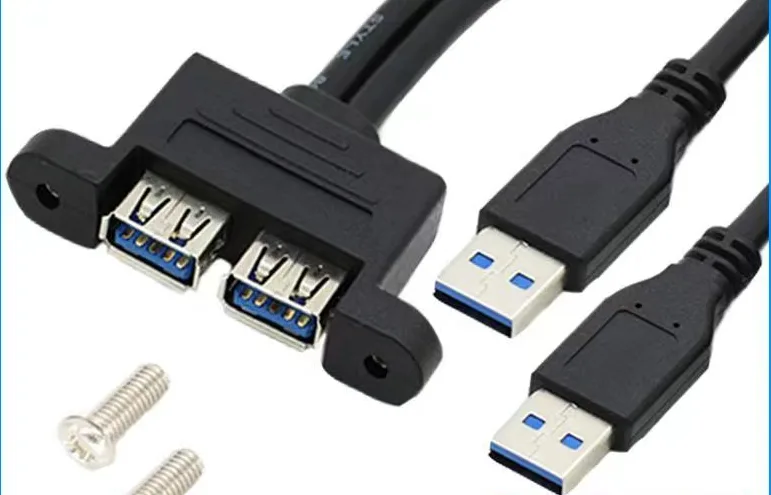
- USB 3.0 2-port conjoined Female Port (x1)
Here is some pictures of the components in case you can't find it:
USB 3.0 2-port conjoined Female Port:
Rii Mini X1 Keyboard:
8Ω 2W Wired Water-proof Speaker:
3.7v 3000mah Lithium Polymer Battery:
The case
Then, based on the size of the components, I modeled a case for it in Autodesk Fusion:
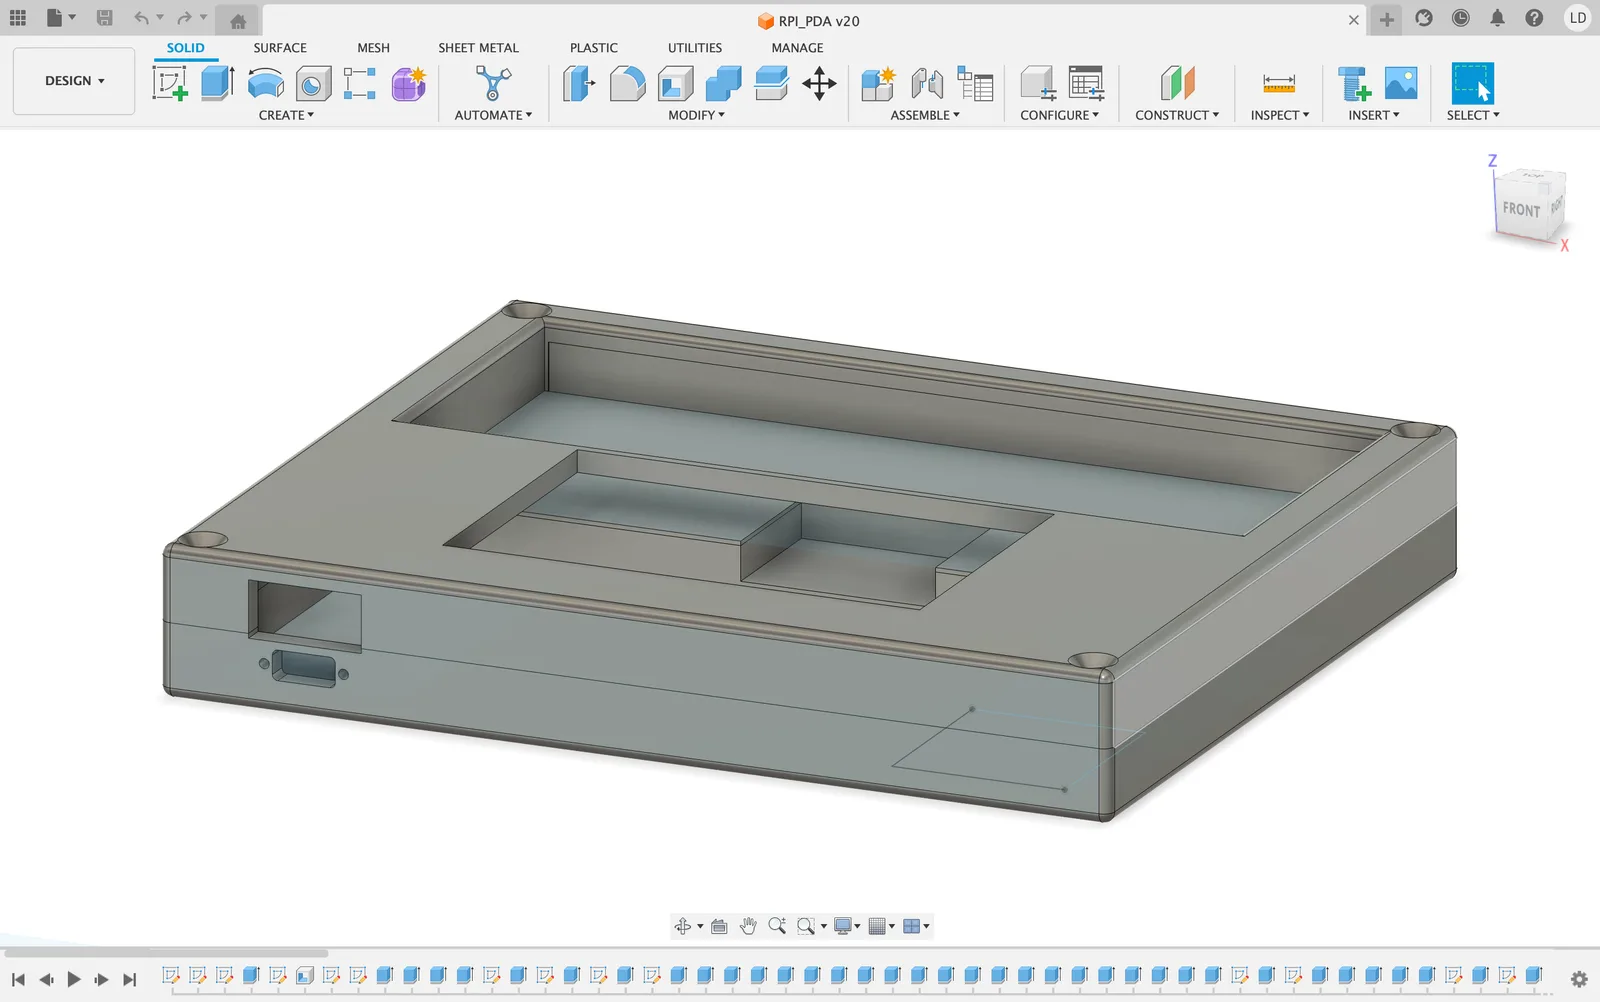
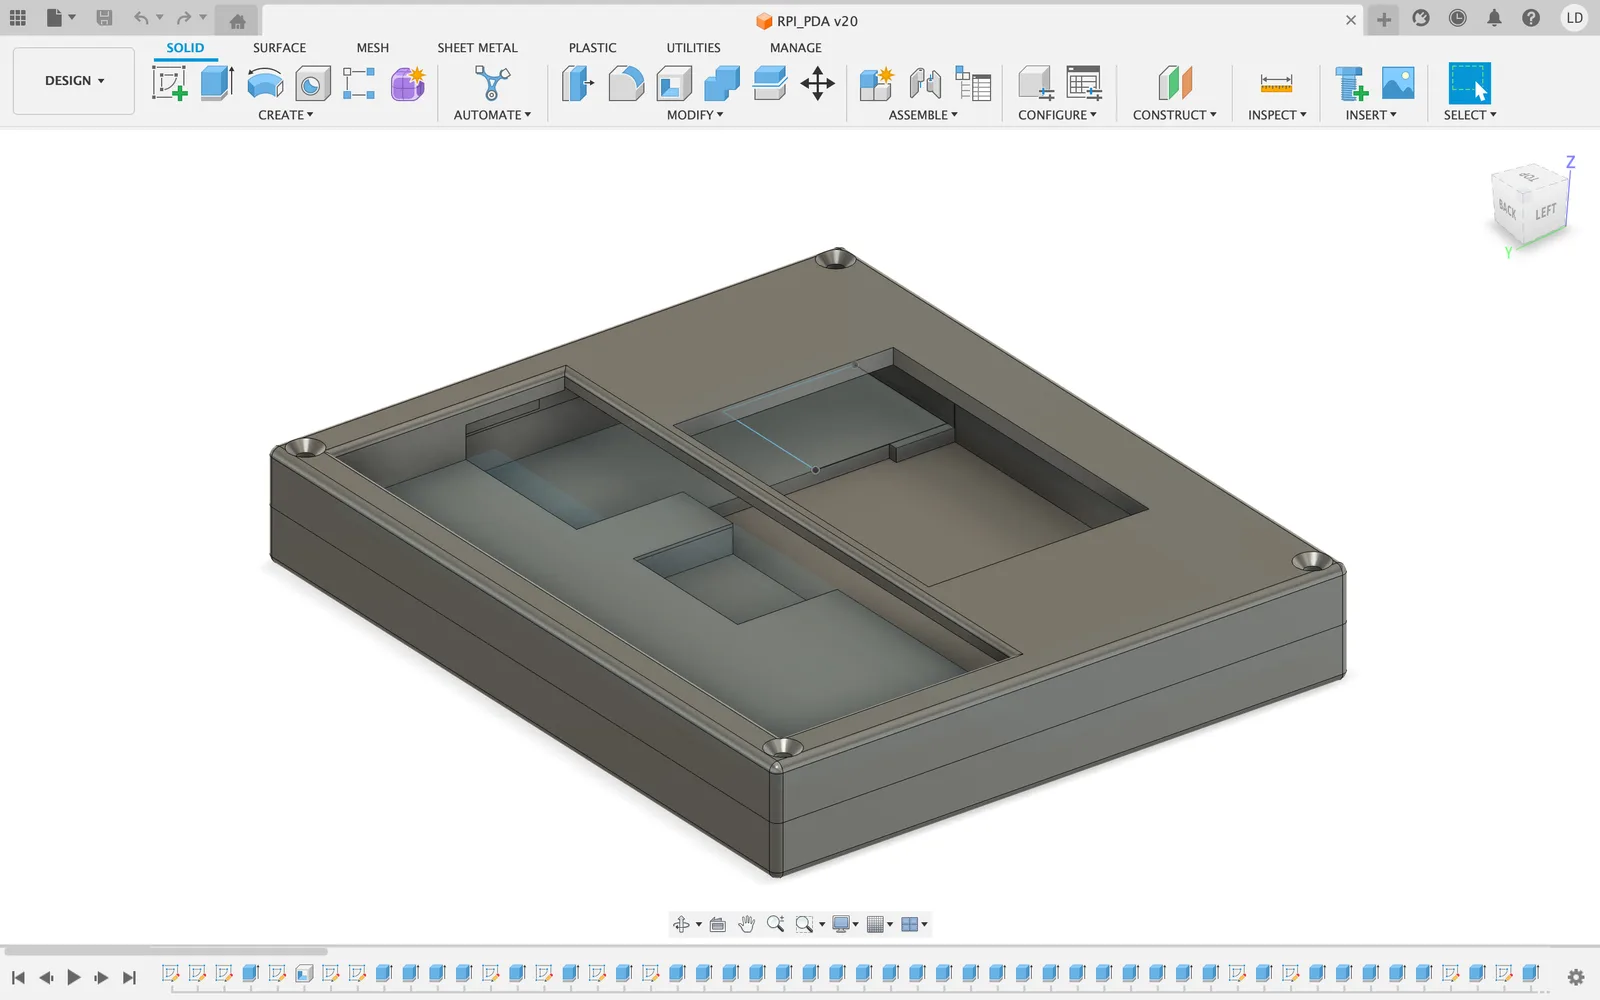
After creating the model, I bought the components, and the price was totaling about 150¥ (CNY) or about 21$ (USD), excluding the Raspberry Pi and the 32 Gigabyte MicroSD Card which I already have, then I pieced the components together and got it working without the case!